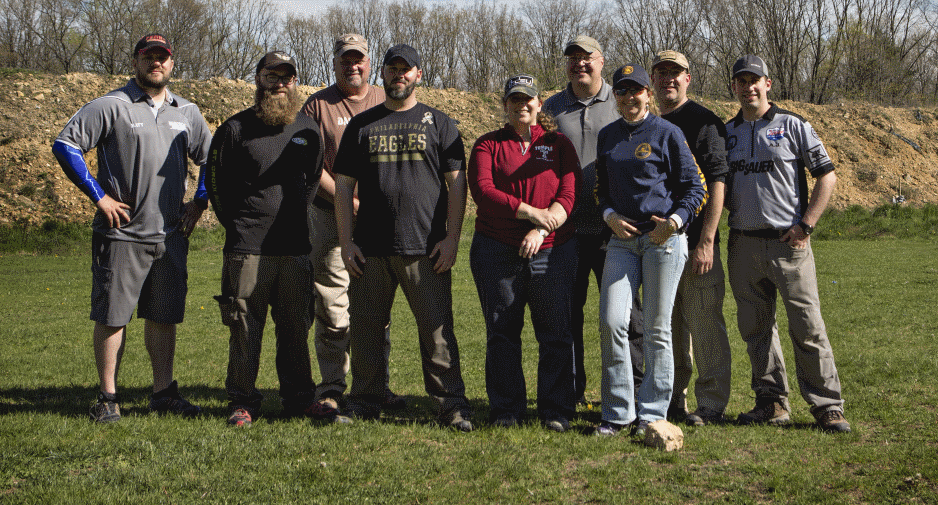
Happy Students

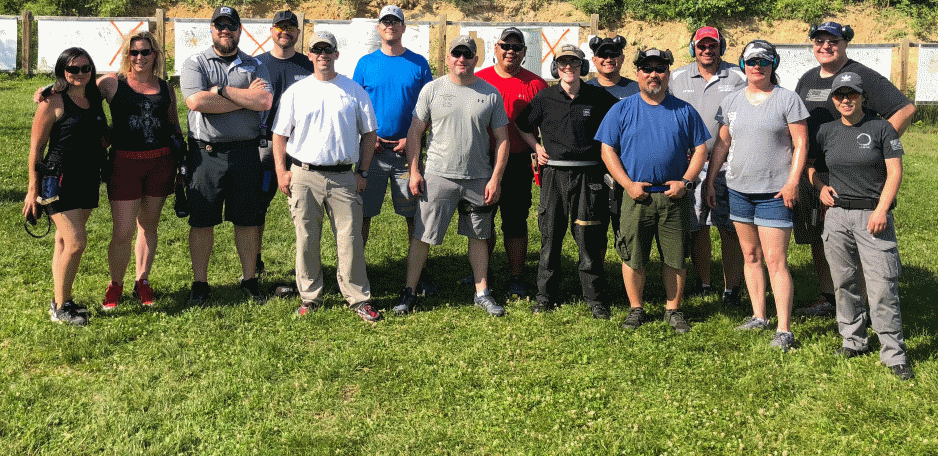
Students getting Super-Tactical in June 2018

Get Trained

Introductory and Private Training Available

Goals:

Set goals, crush them, repeat

Tuesday, December 16, 2014

Super-Tactical.com Drill of the Week #4

This week we address a viewer question about whether it is better to draw on an easy or difficult target first.  I've been told through the years (and probably even told others) that it's best to draw onto an easy target first although I don't really know why.  Obviously we've seen from prior videos that the best way to determine the proper course of action is to shoot it yourself with a timer.

For this drill we set up two paper targets with a white paper target in the center that was about 3 or 4 inches wide to simulate a mini popper.  On the buzzer we alternated shooting the "popper" first and shooting the open target first. In both cases we had to move to another shooting area before engaging the third target. We ran this in both directions and also with a reload during the movement.

What we saw on the clock surprised me a bit, although after our first three weeks of drill videos I guess it shouldn't have. Drawing on the steel was always faster. It was especially faster if you got your feet moving while shooting the paper target after engaging the steel.  Shooting the steel second also ran into a few other problems.  On both of my first two runs on video I had marginal edge hits on the steel which may or may not have knocked it down. Hitting it and hearing the ding and then immediately leaving would have been disaster in a match had the popper remained standing.

editor's note: we apologize for the poor audio and audio sync issues on this video. The HVAC system on the indoor range was much louder on video than anticipated.

direct link for mobile users HERE

Wednesday, December 10, 2014

Super-Tactical.com Drill of the Week #3: "Blake Drill"

Today's drill of the week is a simple but powerful drill to be used in your practice arsenal. The Blake Drill (named after Blake Miguez) is a transition drill where you simply shoot two shots on each of 3 targets. The goal is to have your splits and transitions be the same. This will help get you away from the tendency to hammer on your splits and be lazy on your transitions.  I'm sure all of you reading this have gone to matches and seen shooters (or been one of these shooters yourself) than shoot with a cadence that sounds like this... BANGBANG.... BANGBANG... BANGBANG.  What shooters sometimes don't realize is how much time is lost during that transition. Sure it's great to shoot sub-.20 second splits, but if your transitions between targets are .50 or .60 you're gonna have a bad time.  The goal of this drill is to make you aware of this lost time, and to work on eliminating it!

Another thing to consider with this drill is what your eyes are doing as you transition between targets. Some shooters have a habit of sort of locking their neck and eyes in one position and transitioning through the targets like a tank turret. You do not want to keep your eyes focused on the sights for this entire drill!  What you want to do is to snap your eyes to the next A zone each time, and the gun will follow, then reacquire your sights and break the shot.  If you have a tough time doing that, start SLOW (a second or more between shots if necessary) and think (or say out loud) eyes, sights, trigger. This will help you remember to snap your eyes to the next target.  It may even be easier to accomplish this if you move the targets much further apart.  Think about it this way..If I were to tell you to point  your finger at a light switch on the wall, how would you do it? Go ahead and do it now if you want, I promise not to laugh.  Did you find the switch with your eyes, then your body knew how to just make your finger sort of appear there?  You didn't focus on your finger tip and then maintain that focus as you try to move your finger to the switch..  Shooting transitions is the same. You find your spot on the target and then your hands just move the gun there. After the gun "appears" on target, acquire your sights and break the shot.  Again, this will probably be much easier to do if you move the targets 3 or more yards apart.

Be sure to try different variations of this setup. For example, use three targets instead of two, shoot the targets in a different order, or increase the space between the targets.  As always, be sure to use your timer to verify what you are doing and be sure to push yourself.

Remember, this is only a drill for practice. You shouldn't usually try to shoot a specific cadence in a match.  We also want to see you really pushing yourself here.  Turn up the wick until you get those split/transition times down into the low 20s or better, then remember to back it off some so you can find your comfortable "All A's" pace.  The more you work on it, the faster that comfortable pace will get. I like to always end the drill with that comfortable pace so I can see my progress over time, and so I don't get caught in a trap of just spraying mindlessly into brown. The goal is to get faster, but all A's should be your goal too.

We'd love to hear some suggestions for what to do on future dril of the week videos, so feel free to post them below or in the comments on youtube.  Thanks for watching.


(direct link to video here )

Wednesday, December 3, 2014

Super-Tactical.com Drill of the Week #2: "Keep it Moving"

Building on what we learned last week with the drill "Three Way", we again address shooting on the move with this week's drill. The setup is simple: you start in a box with 3 targets in front of you but must move to a second box to be able to see and engage a steel target.  We run the drill two ways. First, we start and immediately move to the second box, and shoot everything from there. Next, we shoot the entire string on the move.  Based on what we know from last week, it is shown again that it's much faster to shoot on the move when starting at 7 yards.  We then move back to 10 yards and repeat the drill.  Again, it was faster to shoot on the move.  Moving back to 15 yards is where it gets interesting.  It was still faster for us to shoot on the move at 15 yards, but the hits were not always as good.  If you are a lower classed shooter, or not used to shooting on the move much, chances are you will want to post up at 15 yards and shoot from a stationary position....

BUT, don't let that discourage you. The point of this drill is to establish a base line time while shooting from the stationary position, and then work at shooting on the move until you can beat that time.  If you can already beat that time, great. Work on picking up that speed even more and make sure you're getting those alphas!  Some of you may find that shooting on the move at  10 yards or even 7 is already pretty difficult, and that's fine.  Work on it from that distance until you feel comfortable with your footwork and your hits and challenge yourself as much as you can. You may not choose to shoot on the move at 15 yards in a match situation, but it's good to know that you can if you need to.  Additionally, practicing this skill at 15 yards makes shooting at 5 or 7 yards on the move seem really easy.

Remember to run the drill in the reverse direction too!  For most people there will be a preferred direction of movement for this drill and you will need to make sure you are equally proficient in going both directions.

direct link for mobile users: Click here